


TIG welding, also known as Gas Tungsten Arc Welding (GTAW), is widely regarded as one of the most precise and versatile welding methods. It is commonly used in industries where weld quality, appearance, and control are critical, such as automotive fabrication, aerospace, and stainless steel work.
For beginners, TIG welding can feel difficult at first. Unlike MIG welding, where the machine feeds the wire automatically, TIG welding requires you to control the torch, the filler rod, and the heat—often all at the same time. However, once you understand how each part works together, TIG welding becomes far more intuitive and rewarding.
This guide will walk you through everything you need to know, from equipment and setup to real-world applications and practical techniques.
Understanding TIG Welding Equipment
1. The Power Source: Choosing Your Engine
The TIG welder itself determines what materials you can work with and how much control you have.
A DC TIG welder is typically the simplest option and is commonly used for welding mild steel and stainless steel. It provides a stable arc and is easier to learn on, which makes it ideal for beginners starting with basic fabrication or repair work.
An AC TIG welder, on the other hand, is necessary when working with aluminum. Aluminum naturally forms an oxide layer that melts at a much higher temperature than the base metal. AC current helps “clean” this oxide layer during welding, which is why it’s essential for aluminum projects.
For most beginners, an AC/DC TIG welder is the best long-term choice. It allows you to switch between steel and aluminum without needing a different machine, making it far more versatile as your skills grow.
You may also notice the difference between inverter welders and older transformer-based machines. Inverter TIG welders are lighter, more energy-efficient, and offer better control over arc characteristics, which is why they dominate the modern market.
2. The TIG Torch: Your Precision Instrument
A standard torch can be cumbersome. To weld like a pro, you need to understand the "Stack-up":
- The Collet and Collet Body: These hold the tungsten.
- Gas Lens Upgrade: This is mandatory for high-quality work. A standard collet body creates turbulent gas flow. A gas lens uses fine mesh screens to create laminar flow, which provides much better coverage, allows for longer tungsten "stick-out" (giving you better visibility), and reduces gas consumption.
- Alumina Cups: Size matters. A #8 cup is a good all-rounder, but you may need a #12 or a "Jumbo" cup for reactive metals like Titanium or wide stainless joints.
3. The Tungsten Electrode: Selection and Prep
The tungsten is your "conductor," and its condition dictates arc stability.
- Material: Forget pure green tungsten. 2% Lanthanated (Blue) or Ceriated (Grey) are the modern industry standards. They work on both AC and DC and hold their point longer.
- The Grind: Use a dedicated diamond wheel or a clean grinding stone. Always grind longitudinally (points toward the tip). If you grind across the diameter, the arc will spiral and wander.
- Tip Geometry: For DC, grind to a sharp needle point. For AC, a slight "land" or a blunted tip is better to prevent the end from melting into the puddle.
4. Shielding Gas: Pure Argon Logic
TIG requires 100% Pure Argon.
- The Flow Meter: Set your regulator to 15–25 CFH (Cubic Feet per Hour).
- Post-Flow Control: This is the most underrated setting. Keep the gas flowing for at least 5–8 seconds after the arc stops. This protects the cooling weld and prevents the hot tungsten from oxidizing (turning black). If your tungsten is black after welding, you need more post-flow.
TIG Welding Parameters: The Science of Heat Control
The quality of a TIG weld is surgically sensitive to these parameters. Understanding how to balance them is the difference between a strong joint and a failed one.
1. Amperage (The "Heat" Rule)
- Standard Logic: A common starting point is 1 Amp per 0.001" (0.025mm) of thickness. (e.g., 1/8" plate = 125 Amps).
- The "Headroom" Strategy: Set your machine 10–20% higher than needed and use a foot pedal to back off the heat as the metal "soaks" up energy. This prevents the puddle from becoming too wide or burning through.
2. AC Balance and Frequency (Aluminum Mastery)
- AC Balance: This controls the ratio between "Cleaning" (removing oxide) and "Penetration." Set it to 70–75% Electrode Negative (EN). Too much cleaning (positive) will ball your tungsten; too little will result in "peppery" or dirty-looking welds.
- AC Frequency: Usually adjustable between 50–250 Hz. A higher frequency (100–120 Hz) creates a narrower, more focused arc, which is critical for precision in tight corners or thin joints.
3. Pulse TIG Settings
Pulsing alternates between a high "Peak" current and a low "Background" current.
- Pulse Frequency (PPS): High speed (over 100 PPS) stabilizes the arc; low speed (around 1 PPS) helps you time your filler rod dips, creating that perfect "stack of dimes" look.
- Benefit: It significantly reduces the heat-affected zone (HAZ), preventing thin stainless steel from warping or "sugaring" (oxidation) on the back side.
4. Shielding Gas Flow & Post-Flow
- Argon Flow: Set your regulator to 15–20 CFH (Cubic Feet per Hour). Excess flow causes turbulence that sucks in atmospheric air.
- Post-Flow: Crucial Tip: Set your post-flow to at least 1 second for every 10 amps. This keeps gas flowing after the arc stops, protecting the hot tungsten and the cooling weld crater from turning black and brittle.
Process Overview: Executing the Weld
- Preparation: Clean the metal with a dedicated stainless steel brush and Acetone. TIG will pull even microscopic oils from the back side of the joint into the weld.
- Arc Length: Keep it tight—roughly the diameter of your tungsten (1/16" to 1/8"). If the arc is too long, the voltage increases, the heat spreads, and the arc becomes unstable.
- The Dip: Dab the filler rod into the leading edge of the puddle. Do not let the arc hit the rod directly; let the molten pool melt the rod.
- Travel Speed: Must be consistent. If you move too slow, heat builds up and the metal warps. If you move too fast, you get poor fusion.
Key Precautions & Beginner Best Practices
- Never Touch the Tungsten: If your filler rod or the puddle touches the tungsten, stop immediately. A contaminated tip will cause the arc to wander and ruin the weld's purity. Regrind it before continuing.
- Manage the "Crater": Never just snap the arc off at the end of a weld. This leaves a "crater crack." Instead, slowly taper off the amperage (let off the pedal) and keep the torch in place for the post-flow gas to protect the final spot.
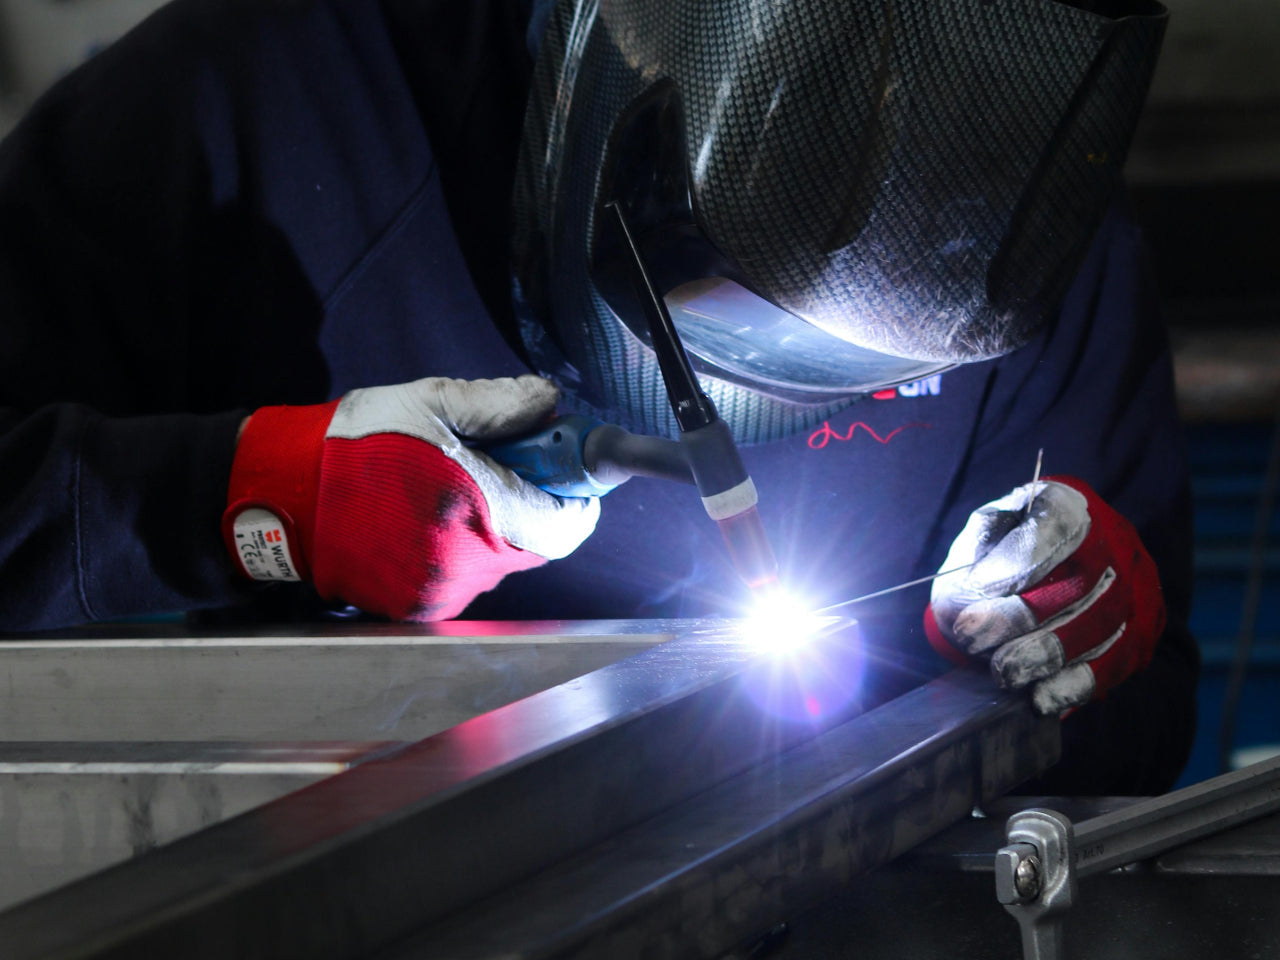
- Safety First: TIG produces intense UV radiation. Ensure your welding helmet has a high-quality lens (Shade 10–13) and your skin is completely covered—even small gaps will lead to "welder’s sunburn."
- Back-Purging: When welding stainless steel pipes or tubes, you often need to fill the inside of the pipe with Argon (back-purging) to prevent "sugar" (oxidation) on the interior of the weld.
Conclusion
TIG welding represents a process where precision is achieved through control rather than automation. Its learning curve is defined by your ability to manage heat, maintain a tight arc, and coordinate your filler input. While demanding, it provides a level of refinement that is impossible to achieve with other methods. As you spend more time under the hood, the relationship between your parameters and the result becomes a predictable, artistic process.


Leave a comment
This site is protected by hCaptcha and the hCaptcha Privacy Policy and Terms of Service apply.