


1. What Is MIG Welding?
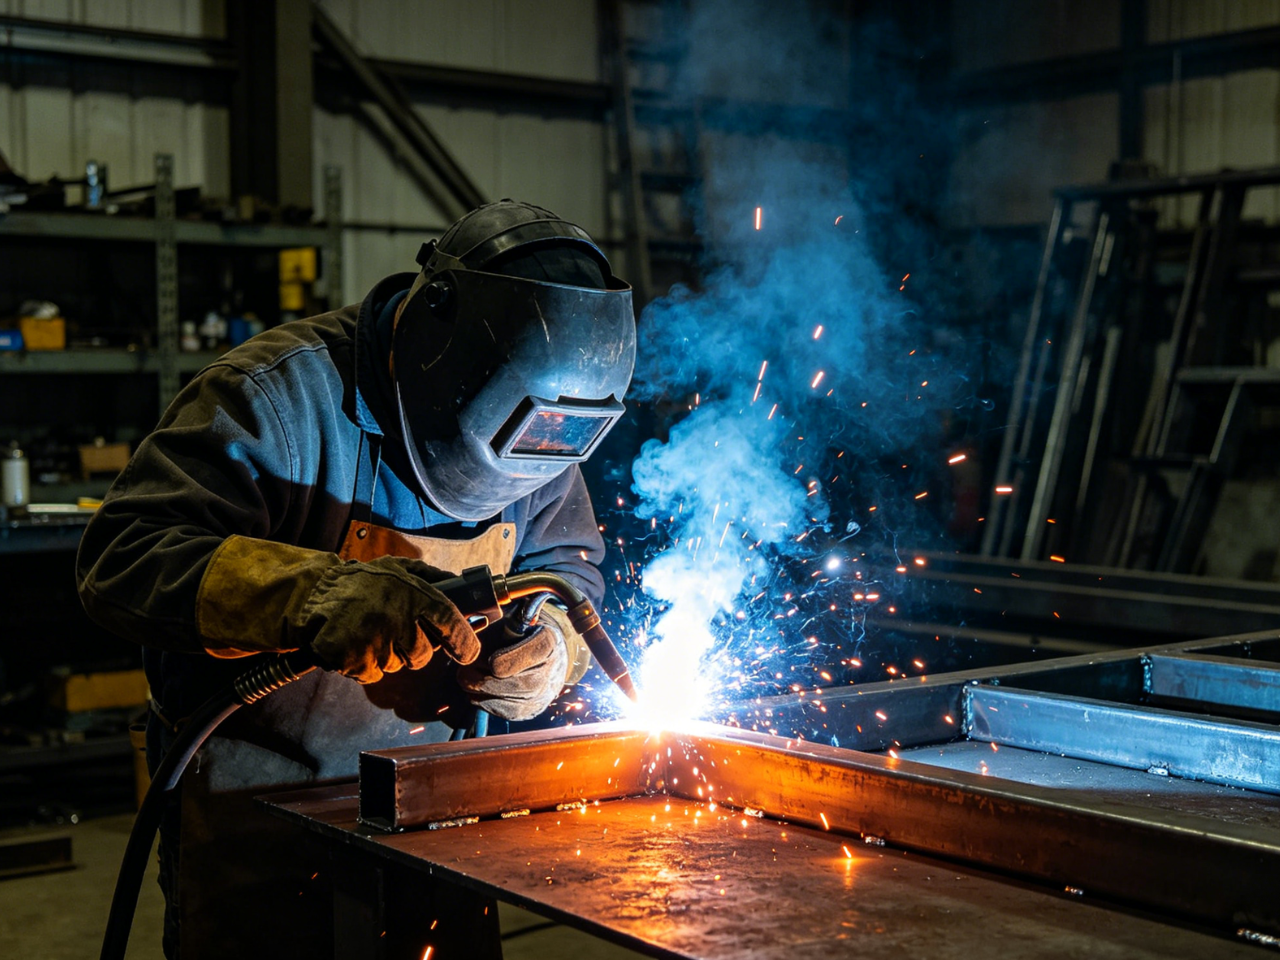
MIG welding (Metal Inert Gas Welding), technically known as Gas Metal Arc Welding (GMAW), is a welding process that uses a continuous solid wire electrode fed automatically, along with shielding gas to protect the weld pool from atmospheric contamination.
- Advantages: Easy to learn, clean welds, low spatter, high efficiency. Ideal for mild steel ranging from 24 gauge to 12.7mm, making it extremely beginner-friendly.
- Applications: Home DIY, automotive repair, agricultural machinery modification, metal fabrication, and more.
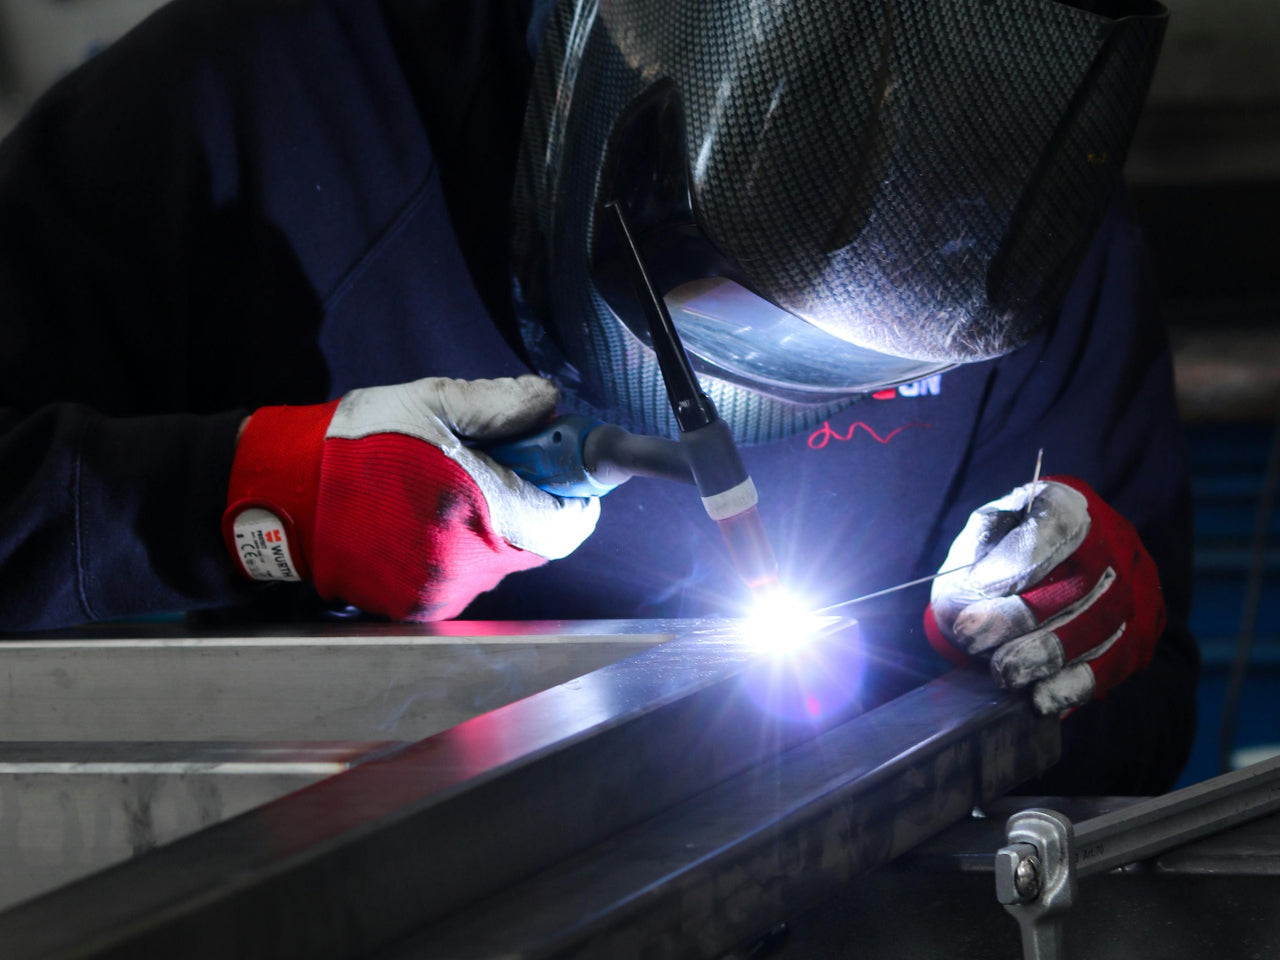
MIG is usually compared to TIG, which stands for tungsten inert gas. Here’s how the two procedures differ.

2. Safety & Essential Equipment Before Welding
2.1 Personal Protective Equipment (PPE)
- Auto-darkening welding helmet and safety glasses
- Flame-resistant long sleeves, full-length pants without cuffs, leather gloves, and work boots
- Hood or bandana to protect against sparks
- Clear the workspace of flammable materials and keep a fire extinguisher nearby
2.2 Core Tools
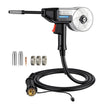
- MIG welder
- Shielding gas cylinder and flow meter
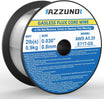
- Solid welding wire of appropriate diameter
- Wire brush / angle grinder (for removing rust, oil, and paint)
- C-clamps (to secure workpieces)
3. Recommended MIG Welder for Beginners
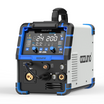
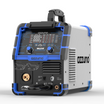
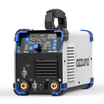
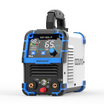
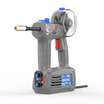
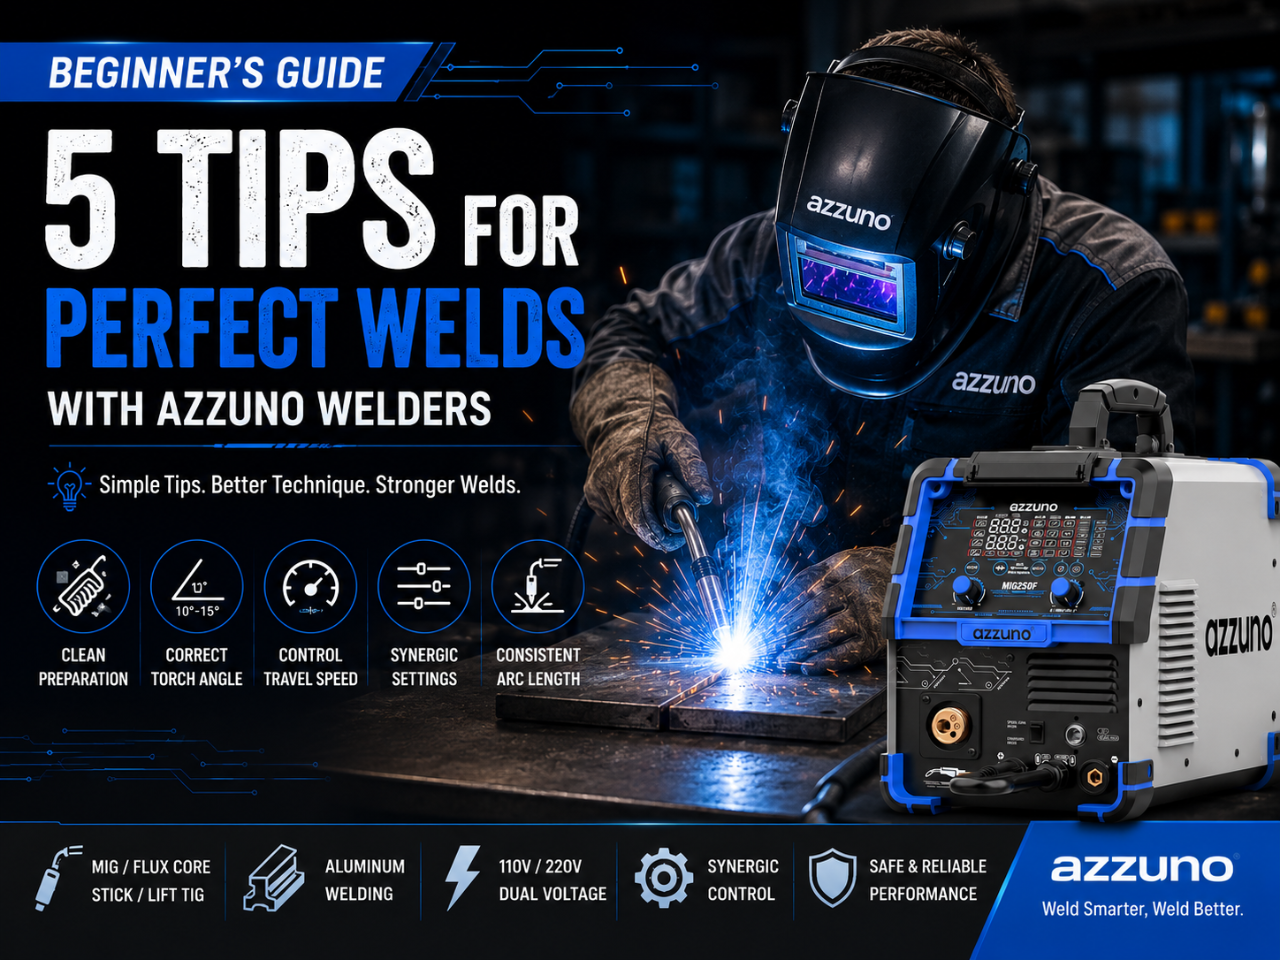
For beginners, a versatile, easy-to-operate machine with automatic parameter matching is highly recommended. We suggest the AZZUNO MIG 200 All-in-One Pulse MIG Welder:

- All-in-one functionality: Supports gas MIG, flux-cored welding, pulse MIG, MAG, spot welding, plasma cutting, high-frequency TIG, and stick welding.
- Beginner-friendly: SYNERGISTIC mode allows you to select material type, thickness, and wire diameter, with voltage and wire feed speed automatically adjusted—no need to memorize complicated settings.
- Dual voltage 110V/220V for home and job-site use; compatible with 0.023”–0.040” solid and flux-cored wires, and capable of welding aluminum, copper, and other metals.
- Plasma cutting capacity up to 10mm clean cut / 14mm maximum cut, perfect for daily DIY and repair work.
4. Basic Welder Setup (Step-by-Step)
4.1 Base Metal Preparation (Critical!)
Solid MIG wire has low tolerance for contaminants. Always use a wire brush or angle grinder to remove rust, oil, and paint until bare metal is exposed. Ensure the ground clamp is attached to clean metal for good conductivity.
4.2 Wire Selection (General for Mild Steel)
| Wire Type | Application | Recommended Diameter |
|---|---|---|
| ER70S-3 | General welding on clean steel | 0.030” (all-purpose) |
| ER70S-6 | Rusty or dirty steel, better deoxidation | 0.030” / 0.035” |
- Thin sheet metal: Use 0.023” (low heat input)
- Thick plate: Use 0.035” / 0.045” (higher current, deeper penetration)
4.3 Shielding Gas (Top Choice for Mild Steel)
- 75% Argon + 25% CO₂ (C-25): All-purpose mix, minimal spatter, smooth weld appearance, less burn-through on thin material – best for beginners.
- 100% CO₂: Deeper penetration but more spatter and rougher welds, suitable for thick-plate welding.
- Gas flow rate: 20–25 CFH. Check hoses for leaks.
4.4 Electrical & Wire Feed Settings
- Polarity: DCEP (Direct Current Electrode Positive) is required.
- Wire feed tension: Adjust to ensure smooth feeding without slipping or kinking.
- Contact tip / liner: Clean spatter regularly and replace when worn. Discard rusted wire.
- Parameters: Use the machine’s parameter chart or the auto-set function on MIG Welder models like the AZZUNO for quick setup.
5. Core Welding Techniques (Must-Practice for Beginners)
5.1 Stick-Out
- The length of unmelted wire from the contact tip to the workpiece: Standard 3/8 inch. A steady sizzling bacon sound indicates an ideal arc.
- Too long → insufficient heat, poor shielding, porosity; too short → wire sticking, excessive spatter.
5.2 Push vs. Pull Technique
- Pull (Backhand): Gun angled toward the weld pool, deeper penetration, narrow and tall bead. Ideal for thick plates and fillet welds.
- Push (Forehand): Gun pushed forward, shallower penetration, wider and flatter bead. Better visibility, suitable for thin sheets and butt joints.
5.3 Angle Control
- Travel angle: 5–15° in the direction of welding. Angles over 20–25° cause spatter, shallow penetration, and unstable arcs.
- Work angle: 90° for butt joints; 45° for T-joints; 60–70° for lap joints.
5.4 Travel Speed
- Too slow: Excessive buildup, burn-through, and warping.
- Too fast: Inadequate penetration, narrow bead, lack of fusion.
- Rule: The arc always stays ahead of the weld pool, with pool size matched to material thickness.
6. Practical Welding Positions
6.1 Flat Position (Easiest, Start Here)
- Butt joint: Gun held at 90° with a 5–15° travel angle, using slight side-to-side motion to fill the gap.
- T-joint: 45° between two plates, adjusting angle for multi-pass welds to prevent undercut.
6.2 Horizontal Position
- Work angle tilted slightly downward (0–15°) to prevent molten metal sagging. Slightly lower parameters than flat welding, with narrow weaving and slight pauses at edges to avoid undercut.
6.3 Vertical Position
- Downward vertical: For thin sheet metal, fast travel, shallow penetration, top-to-bottom motion to avoid burn-through.
- Upward vertical: For plate ≥6mm, strong penetration, bottom-to-top motion, controlled pool with small weaving, parameters reduced by 10–15%.
6.4 Overhead Position (Most Difficult)
- Maintain fast travel speed to avoid molten metal drooping. Limit weave width. Lower voltage and current; finer wire improves control.
7. Common Beginner Issues & Solutions
| Problem | Cause | Solution |
|---|---|---|
| Excessive porosity | Poor shielding, dirty base metal, incorrect gas flow | Clean material, check for leaks, set flow to 20–25 CFH |
| Too much spatter | Wrong angle, poor parameters, improper stick-out | Adjust angle, reset voltage/wire feed, control stick-out |
| Burn-through | Excessive heat, slow travel speed | Lower voltage, use finer wire, increase travel speed |
| Lack of fusion/penetration | Insufficient heat, fast travel speed | Increase voltage, slow down, ensure proper penetration |
| Undercut | Excessive weaving, no pauses at edges | Reduce weave width, pause briefly at bead edges |
8. 7-Day Beginner Practice Plan
- Day 1–2: Practice machine setup, wire feeding, gas adjustment, and gun manipulation without welding.
- Day 3–4: Master flat welds – straight beads, lap joints, T-joints; find ideal arc sound and feel.
- Day 5–6: Practice horizontal and downward vertical welds, focusing on angle and speed control.
- Day 7: Assemble and weld simple projects, inspecting weld appearance and strength.
9. Summary
MIG welding is the most accessible welding process for beginners. With proper cleaning, correct wire and gas selection, accurate settings, and steady gun control, you can quickly produce strong, clean welds.
Leave a comment
This site is protected by hCaptcha and the hCaptcha Privacy Policy and Terms of Service apply.