


Getting your MIG welder settings right the first time saves wire, gas, and a lot of frustration. Most beginners burn through settings trying random combinations. This chart gives you actual numbers to start with.
Understanding the Three Core Settings
1. Wire Feed Speed (Amperage)
Wire feed speed and amperage work together. Push the wire faster, and more current flows. Most budget machines show wire speed as a numbered dial rather than actual amps—this is where people get confused.
| Voltage Setting | Typical Use | What It Controls |
|---|---|---|
| Low (18-20V) | Thin metals, sheet metal | Penetration depth |
| Medium (20-22V) | General fabrication, 1/8" steel | Balance of penetration and bead width |
| High (22-26V) | Thick metals, 1/4" and up | Deep penetration, wider bead |
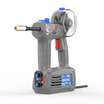
For most 110V machines like the Azzuno MIG-135F (120A max), stick to 18-21V for everyday work. The 220V machines like the Azzuno MF-200L can push higher, but you rarely need full power in a home garage.
2. Wire Diameter
Match wire diameter to metal thickness. Here's the practical rule:
| Wire Diameter | Best For | Common Spool Sizes |
|---|---|---|
| 0.023" | Precision work, thin 18-22ga sheet | .030" preferred for home shops |
| 0.030" | Most common, 1/16" to 1/4" plate | Standard .030" solid |
| 0.035" | General fabrication, 1/8" and thicker | Standard .035" flux-core |
| 0.045" | Heavy plate, structural work | Industrial applications |
Most hobby welders run 0.030" or 0.035" on 3/16" steel. The Azzuno MIG-200PRO handles all these sizes and includes a synergic setting that auto-adjusts based on your wire choice.
3. Gas Flow Rate
Shielding gas keeps your weld pool clean. Too little, and you get porosity. Too much, and you suck in atmospheric contamination.
| Gas Type | Flow Rate | Application |
|---|---|---|
| 100% CO₂ | 25-35 CFH | Deep penetration, outdoor work, budget-friendly |
| 75/25 (Ar/CO₂) | 20-30 CFH | General steel, better bead appearance |
| 90/10 (Ar/CO²) | 20-25 CFH | Cleanest welds, premium finish |
Set your regulator to 20-25 CFH for 75/25 mix. Check connections for leaks before every session—a small leak ruins a lot of welds.
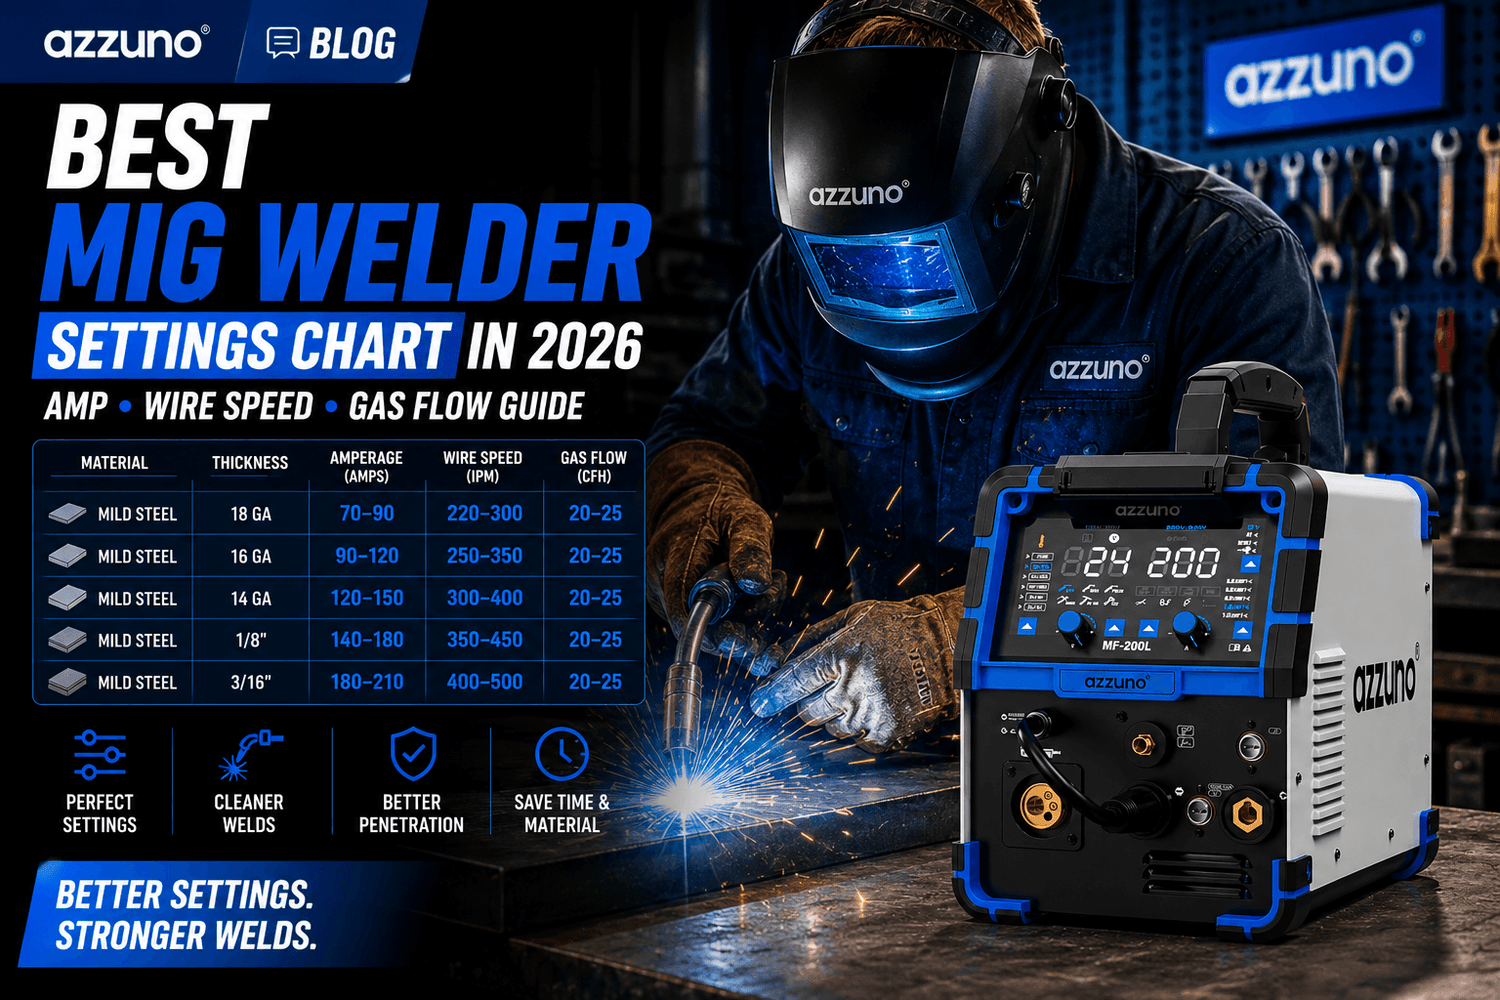
Quick Reference Settings Chart by Material Thickness
Carbon Steel (ER70S-6 Wire + 75/25 Gas)
| Material Thickness | Wire Diameter | Voltage | Wire Speed | Gas Flow | Approx. Travel Speed |
|---|---|---|---|---|---|
| 1/16" (1.5mm) | 0.023" | 17-18V | 150-180 IPM | 20 CFH | 12-15 IPM |
| 1/8" (3mm) | 0.030" | 19-20V | 200-250 IPM | 22 CFH | 10-12 IPM |
| 3/16" (4.8mm) | 0.035" | 21-22V | 280-320 IPM | 25 CFH | 8-10 IPM |
| 1/4" (6mm) | 0.035" | 23-24V | 350-400 IPM | 28 CFH | 6-8 IPM |
Stainless Steel (ER308L + 98/2 or Tri-Mix)
| Material Thickness | Wire Diameter | Voltage | Wire Speed | Gas Flow |
|---|---|---|---|---|
| 1/16" | 0.023" | 18-19V | 160-200 IPM | 30-35 CFH |
| 1/8" | 0.030" | 20-21V | 220-260 IPM | 35-40 CFH |
| 3/16" | 0.035" | 22-23V | 300-350 IPM | 40-45 CFH |
Aluminum (ER4043/5356 + 100% Argon)
| Material Thickness | Wire Diameter | Voltage | Wire Speed | Gas Flow |
|---|---|---|---|---|
| 1/16" | 0.023" or 0.030" | 18-19V | 300-350 IPM | 25-30 CFH |
| 1/8" | 0.035" | 20-22V | 350-400 IPM | 30-35 CFH |
| 3/16" | 3/64" (aluminum wire) | 22-24V | 400-450 IPM | 35-40 CFH |
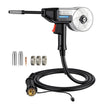
Note: Aluminum requires a spool gun. The Azzuno MIG-200PRO has built-in spool gun compatibility—a real advantage over machines that need aftermarket additions.
Common Mistakes and Quick Fixes
Problem: Burn-Through on Thin Metal
Causes:
- Wire speed too high
- Voltage too high
- Travel speed too slow
- Wrong wire diameter for the job
Fix: Drop wire speed by 15-20%, reduce voltage by 1-2 clicks. If that doesn't work, switch to a thinner wire diameter.
Problem: Porosity (Pinholes in the Weld)
Causes:
- Gas leak or insufficient flow
- Wind or draft disturbing the shielding gas
- Contaminated metal (oil, rust, paint)
- Too much wire speed (short-circuiting)
Fix: Tighten all gas connections. Shield the weld area from drafts. Clean the base metal with a wire brush dedicated to steel (not the same brush you use on stainless). If porosity persists, reduce wire speed.
Problem: Arc Wander or Inconsistency
Causes:
- Worn contact tip
- Dirty or kinked liner
- Inconsistent wire quality
Fix: Replace the contact tip first—it's the cheapest part and solves most arc issues. Check the liner next. Azzuno's machines use standard 0.030"/0.035" consumables, so replacements are easy to find at any welding supply.
The Synergic MIG Advantage
Modern budget machines like Azzuno's MF-200L and MIG-200PRO include synergic (one-knob) settings. Select your wire type and diameter, dial in thickness, and the machine calculates wire speed automatically.
This doesn't replace knowing your settings—it gives you a starting point. From there, small tweaks get you dialed in faster than starting from scratch.
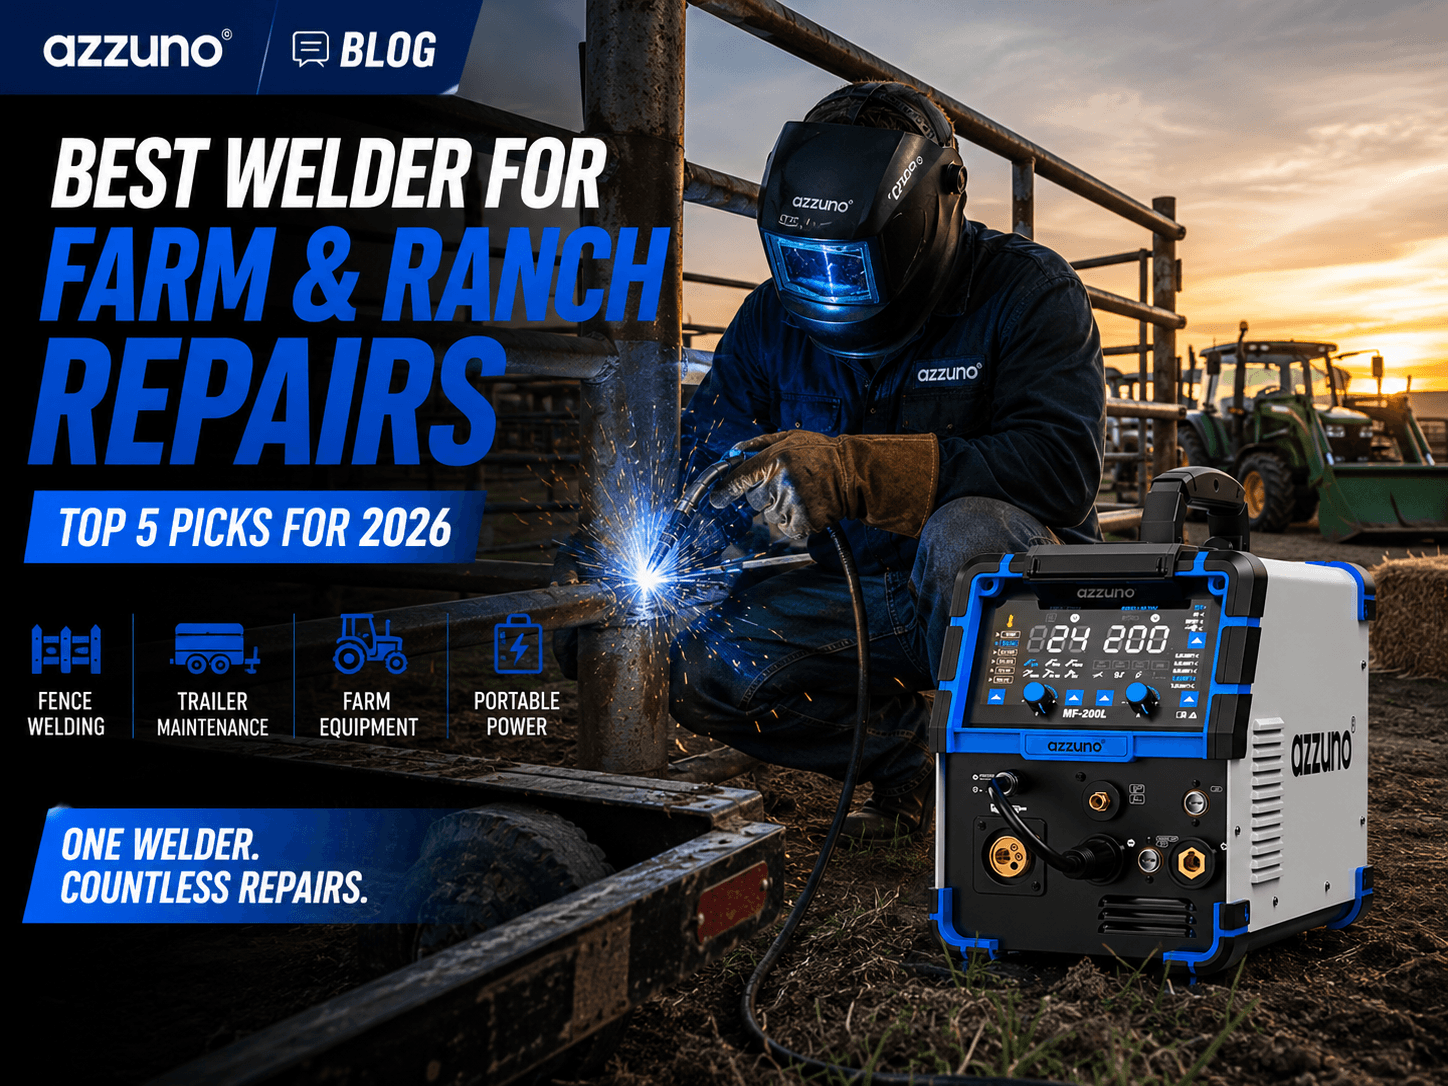
For Ranch Hand Ryan working late on fence repairs or Garage Mike tackling a weekend truck frame project, synergic control removes the learning curve without dumbing down the machine.
Which Azzuno Machine Matches Your Needs?
| Machine | Max Amps | Best For | Wire Sizes |
|---|---|---|---|
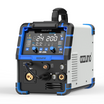
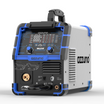
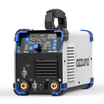
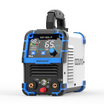
| MIG-135F | 120A (110V) | Beginners, light work, 18ga-1/8" | 0.023"-0.035" |
| MIG-200PRO | 200A (220V) | Serious hobbyists, aluminum capable | 0.023"-0.045" |
| MF-200L | 200A (220V) | Multi-process, includes TIG/Stick/Plasma | 0.023"-0.045" |
FAQ: MIG Welder Settings
Q: What's the difference between MIG and Flux-Core settings?
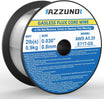
Flux-core (gasless) runs at higher wire speeds than gas MIG. On the same thickness, flux-core typically needs 10-15% higher wire feed speed. Without shielding gas, you get more spatter, so adjust your gun angle and travel speed accordingly.
Q: Can I run 0.030" wire on a machine set for 0.035"?
Yes, but you'll need to adjust your settings. With synergic machines like the Azzuno MF-200L, select the correct wire diameter first—the machine auto-adjusts from there.
Q: How do I set up for 110V vs 220V?
On dual-voltage machines, 110V limits your max output. A machine like the Azzuno MF-200L puts out 120A max on 110V, which handles 1/8" steel reliably. For 1/4" plate, you need 220V.
Q: What gas do I need for indoor welding?
75/25 (Argon/CO₂) is the standard choice for indoor work. It's cleaner than pure CO₂, produces less spatter, and provides good penetration. Pure CO₂ works but creates more smoke and spatter.
Q: My welds look ugly. Is it my settings or my technique?
Usually both. Settings get you 70% there; technique handles the rest. Watch your arc cone—if it's stable and focused, your settings are probably right. If it's hissing or popping inconsistently, adjust wire speed first.
Final Thoughts
This chart gives you starting points, not gospel. Your specific machine, wire quality, base metal condition, and even room temperature affect settings. Keep notes on what works—after a few projects, you'll have your own dialed-in reference.
Start conservative, observe the results, and adjust. That's how every welder learns their machine.
Mike Torres has spent 12 years in fabrication shops ranging from rural ranch equipment to urban architectural metalwork. He now writes about practical welding for makers and tradespeople who need working answers, not marketing fluff.

Leave a comment
This site is protected by hCaptcha and the hCaptcha Privacy Policy and Terms of Service apply.