



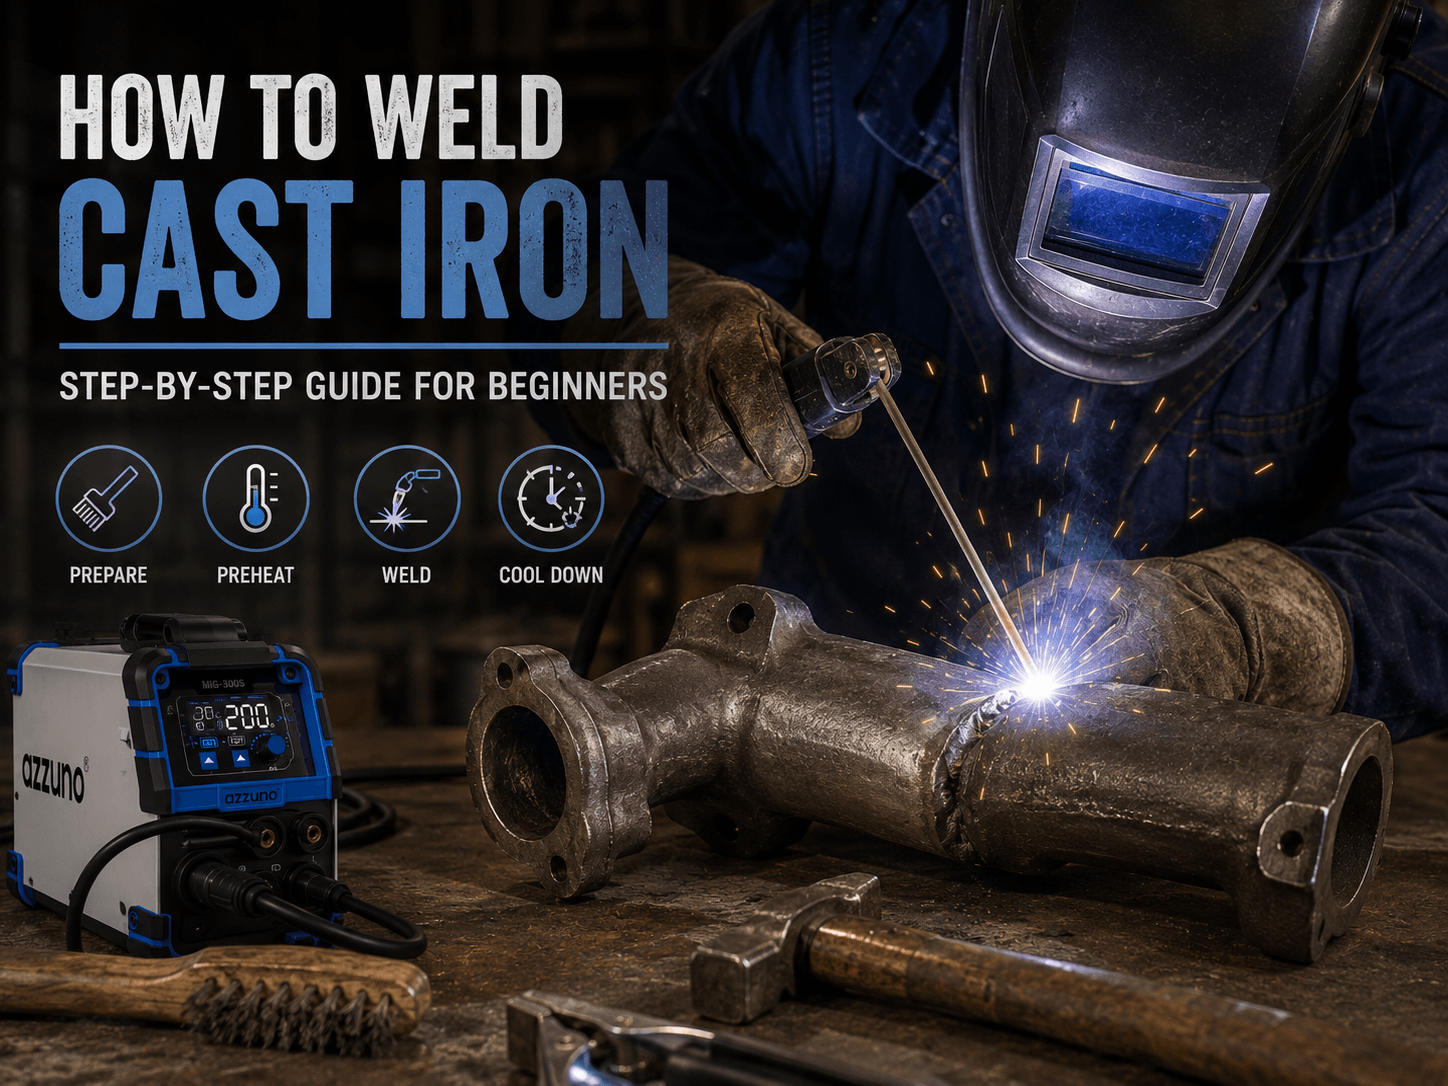
Your neighbor drops off a cracked cast iron exhaust manifold and asks if you can save it. The local machine shop quoted him $400 for a replacement. He's hoping you can fix it for a fraction of that.
Cast iron breaks. Engine blocks crack. Pump housings develop fissures. Farm equipment snaps at the worst time. Most people assume cracked cast iron is trash, but that's not always true. You can weld it—if you understand what makes the material fight back and work with it instead of against it.
This guide covers the three approaches (preheat welding, cold welding, and brazing), walks you through a full step-by-step repair, and points out the mistakes that turn a salvageable casting into scrap.
Why Cast Iron Is Hard to Weld
Cast iron contains 2–4% carbon—roughly 10 times more than mild steel. That carbon is what makes it pour beautifully into molds and dampen vibration in engine blocks. It's also what makes welding so tricky.
Here's the problem chain:
-
Carbon forms brittle structures when cooled too fast. When the heat-affected zone (HAZ) cools rapidly past the critical temperature (~1,450°F), carbon dissolved in the iron transforms into cementite (Fe₃C) and martensite—both hard, both brittle, both crack-prone. According to the American Welding Society (AWS), controlling cooling rate is the single most important factor in preventing cracking on cast iron (AWS D11.2).
-
Cast iron doesn't bend—it snaps. Mild steel has 20–30% elongation. Gray cast iron? Less than 1%. It can't relieve thermal stress by yielding. The stress builds until something gives, and that something is usually a crack running through your fresh weld or alongside it.
-
Contamination hides inside the casting. Decades of oil, grease, and graphite soak into the porous surface of old castings. That contamination causes porosity and weak fusion no matter how clean the surface looks.
These three factors—brittle microstructures, zero ductility, and hidden contamination—define every decision you make when welding cast iron.
Know Your Cast Iron: Which Types Can You Actually Weld?
Not all cast iron is the same. Before you strike an arc, identify what you're working with. The wrong approach on the wrong type guarantees failure.
| Type | Carbon Form | Tensile Strength | Ductility | Weldability | Common Uses |
|---|---|---|---|---|---|
| Gray Cast Iron | Flake graphite | 138–380 MPa (20–55 ksi) | Very low (<1%) | Weldable with preheat or cold-weld technique | Engine blocks, machine bases, exhaust manifolds, pump housings |
| Ductile (Nodular) Cast Iron | Spherical graphite | 410–830 MPa (60–120 ksi) | Moderate (2–18%) | Weldable with careful procedure and Ni-Fe filler | Pipe fittings, gear housings, crankshafts |
| Malleable Cast Iron | Tempered graphite nodules | 310–620 MPa (45–90 ksi) | Moderate (2–20%) | Fair—HAZ embrittlement risk | Pipe fittings, brackets, small hardware |
| White Cast Iron | Cementite (no free graphite) | 160–620 MPa (23–90 ksi) | Near zero | Not weldable—extreme hardness and brittleness | Wear surfaces, crusher liners (rare in repairs) |
Quick identification tip: Gray iron produces a gray fracture surface with visible graphite flakes. Ductile iron looks darker and more fibrous. If you file it and the filings are powdery gray, it's gray cast iron—the most common type you'll encounter and the one this guide focuses on.
If you're dealing with white cast iron, stop. Replace the part. No amount of preheat or specialty rod will save it.
Three Methods to Weld Cast Iron: Which One Fits Your Job?
Each method has a distinct trade-off between equipment needs, skill level, and joint strength. Pick based on what you're repairing and what you have available.
| Factor | Preheat Welding (Stick) | Cold Welding (Stick, Ni-99) | Brazing (Oxy-Fuel or TIG) |
|---|---|---|---|
| Preheat Required | 500–1,200°F (entire casting) | Room temp to 350°F (local only) | 700–900°F (braze temperature only) |
| Electrode / Filler | ENi-CI (Ni-99) or ENiFe-CI (Ni-55) | ENi-CI (Ni-99) exclusively | ERCuSi-A (silicon bronze) or RBCuZn-C |
| Weld Strength | Matches base metal | Lower than base metal (adequate for non-structural) | Lower than base metal (seal-only for some joints) |
| Machinability | Good (with Ni-99); fair (with Ni-55) | Excellent | Excellent |
| Equipment Needed | Stick welder + oven/torch for preheat | Stick welder only | Oxy-fuel torch or TIG welder |
| Skill Level | Intermediate | Beginner-friendly | Intermediate to Advanced |
| Best For | Structural repairs, thick sections, engine blocks | Cosmetic repairs, thin sections, field fixes | Sealing cracks, joining dissimilar metals, decorative work |
| Cooldown | Slow cool (insulated, overnight) | Air cool at room temp | Slow cool recommended |
For Garage Mike fixing a cracked exhaust manifold: preheat weld with Ni-55 for strength at elevated temperatures. For Ranch Hand Ryan patching a pump housing in the field: cold weld with Ni-99—no oven required. For Maker Sarah restoring a vintage cast iron planter base: braze with silicon bronze for a clean fillet and color match.
Electrode Selection: Ni-99 vs Ni-55 vs Steel Rods
Your electrode choice determines whether the weld is machinable, strong, or both.
ENi-CI (Ni-99) — 99% nickel. Produces soft, machinable deposits. Minimal dilution with the base metal keeps the weld ductile. Works at lower preheat temperatures (350°F minimum per Lincoln Electric's Tech-Rod 99 spec). This is the go-to rod for cold welding and for repairs where you need to machine the weld afterward. AWS classification: ENi-Cl per AWS A5.15.
ENiFe-CI (Ni-55) — ~55% nickel, balance iron. Stronger deposit than Ni-99, better for thick sections and higher-strength castings (ductile iron). Harder to machine. Requires higher preheat (500°F+). This is the rod for structural repairs and for castings that operate under load.
ESt (Cast Iron Steel Electrode) — Cheap. Readily available. And a bad idea for most repairs. Steel electrodes pull carbon into the weld pool, forming hard, unmachinable deposits. AWS D11.2 recommends preheating to 550°C (1,022°F) minimum when using steel electrodes on cast iron—something most home shops can't achieve. Skip these unless you're in a pinch and the repair is non-critical.
Amperage settings (DCEN or AC):
| Electrode | Diameter | Amperage Range | Polarity |
|---|---|---|---|
| Ni-99 (ENi-CI) | 3/32" (2.4mm) | 40–70A | AC or DCEN |
| Ni-99 (ENi-CI) | 1/8" (3.2mm) | 65–100A | AC or DCEN |
| Ni-99 (ENi-CI) | 5/32" (4.0mm) | 90–140A | AC or DCEN |
| Ni-55 (ENiFe-CI) | 3/32" (2.4mm) | 50–80A | AC or DCEN |
| Ni-55 (ENiFe-CI) | 1/8" (3.2mm) | 70–110A | AC or DCEN |
| Ni-55 (ENiFe-CI) | 5/32" (4.0mm) | 100–150A | AC or DCEN |
Run at the low end of these ranges. You want minimum penetration and minimum heat input—the opposite of how you'd weld mild steel.
Step-by-Step: How to Weld Cast Iron with Stick (Preheat Method)
This is the most reliable approach for structural repairs on gray and ductile iron.
Step 1: Clean and Prepare the Crack
Grind away all paint, oil, rust, and casting skin from at least 1 inch on each side of the crack. Use a wire wheel, angle grinder, or die grinder.
If the crack goes through the full thickness, bevel both sides to form a V-groove with a 60–75° included angle. Leave a 1/16"–1/8" root face at the bottom. For partial-thickness cracks, grind out the crack to its full depth—shallow preparation hides contamination that causes porosity.
For Garage Mike: That engine block sat in oil for 30 years. Heat the repair area with a propane torch to burn out absorbed oil before grinding. Wipe with acetone after.
Step 2: Preheat the Entire Casting
This is not optional for the preheat method. Heat the whole part—not just the crack zone—to 500–1,200°F. For thin sections (under 1/4"), 500°F works. For thick castings (over 1/2"), aim for 900–1,200°F. Never exceed 1,400°F.
Use a propane torch, rosebud tip, or an electric oven. Monitor temperature with temp sticks (heat-indicating crayons) or an infrared thermometer. Lincoln Electric recommends checking with temp crayons at the weld zone and at the farthest point from it—both should read within your target range.
Why the whole part? Localized preheat creates a steep thermal gradient that causes the exact cracking you're trying to avoid. The goal is to make the entire casting expand and contract as one piece.
Step 3: Set Your Welder and Run Short Beads
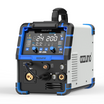
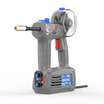
On a machine like the Azzuno MF-200L, switch to Stick/MMA mode. Set amperage to the low end of the electrode's range—65–85A for a 1/8" Ni-99 rod on 220V. The MF-200L delivers 140A at 60% duty cycle on 220V, which is more than enough for cast iron work at these low amperages.
Run beads no longer than 1–2 inches (25–50mm). After each bead:
- Peen it immediately with a ball-peen hammer or slag hammer. Light, rapid strikes along the weld bead compress the deposit and relieve shrinkage stress. This is not optional.
- Wait. Let the weld zone cool below 350°F before laying the next bead. On a hot casting, this might take 2–5 minutes between passes.
Use the backstep technique: weld from the far end of the groove back toward the starting point. This places each new bead's crater on top of already-deposited weld metal rather than on cold base metal.
Step 4: Fill and Cap
Continue the short-bead, peen, cool cycle until the groove is filled. On deep grooves, weld from both sides if accessible—this balances the shrinkage forces.
For the cap pass, use a slight weave if the groove is wide, but keep the weave tight. No wide wandering—the more heat you pump in, the more stress you create.
Step 5: Post-Weld Slow Cool
This step makes or breaks the repair. After the final pass, maintain preheat for a few minutes to let stresses equalize. Then slow-cool the casting:
- Bury it in dry sand, vermiculite, or lime.
- Wrap it in a welding blanket or fiberglass insulation.
- If it's small enough, leave it in a oven and drop the temperature 50°F per hour down to room temp.
Never quench. Never set it on a concrete floor (concrete pulls heat fast). Never let a fan blow on it. The target is 8–12 hours of gradual cooling for thick castings.
Cold Welding Cast Iron: The No-Oven Approach
When you can't preheat—field repairs, large castings that won't fit in an oven, or quick fixes—cold welding with Ni-99 is your method.
The principle: keep heat input so low and so localized that the HAZ never gets wide enough to build dangerous stress. It works, but it's slower and produces a weaker joint than preheat welding.
Technique:
- Clean and bevel the same as the preheat method.
- Optional local preheat to 200–350°F with a small torch—enough to drive off moisture but not enough to create thermal gradients.
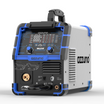
- Set amperage to the absolute minimum that maintains a stable arc. On the Azzuno MIG-200F in Stick mode, that's around 60–75A for a 1/8" Ni-99 rod.
- Run beads no longer than 1 inch (25mm) . Even shorter than the preheat method.
- Peen every bead. Let the weld zone cool to the point where you can hold your bare hand near it (under 150°F) before the next pass.
- Build up the groove in multiple thin layers. Patience wins here.
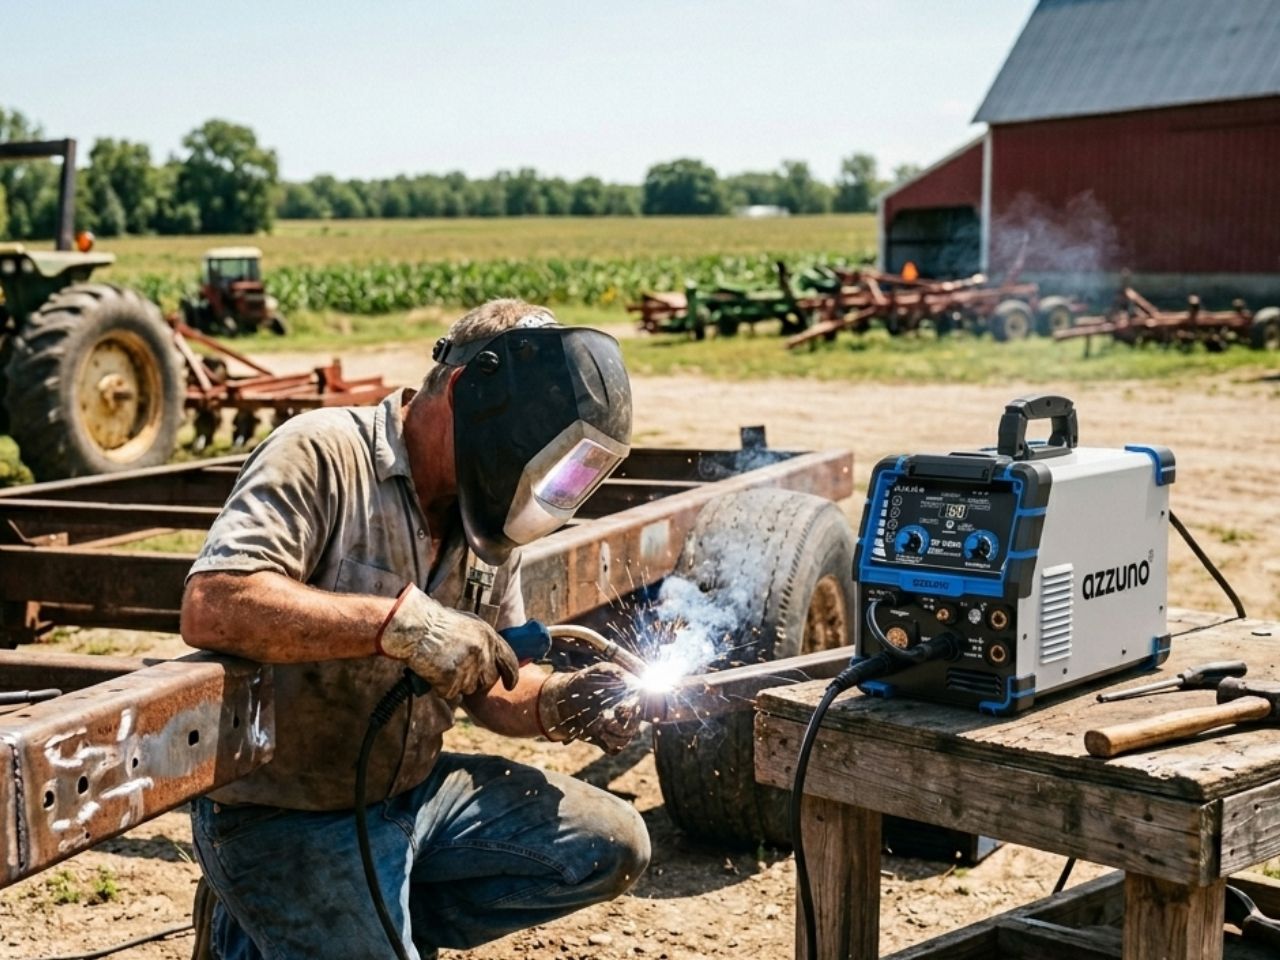
For Ranch Hand Ryan: Your irrigation pump housing cracked mid-season. You don't have an oven and the pump can't come out of the line. Cold weld with Ni-99, peen religiously, and wrap the repair area in a welding blanket between passes. It'll hold until the off-season when you can do a proper preheat repair.
Brazing Cast Iron: When You Don't Need Full Strength
Brazing doesn't melt the base metal. You heat the cast iron to 700–900°F and flow a bronze filler (silicon bronze, ERCuSi-A) into the joint via capillary action. Because the base metal stays solid, you avoid the hard HAZ problem entirely.
Advantages: No martensite formation. Machinable deposit. Good for sealing cracks in non-structural parts. Works on castings with unknown composition.
Limitations: Joint strength is lower—silicon bronze has a tensile strength around 50 ksi vs. gray iron's 20–55 ksi. Not suitable for high-stress or high-temperature service. The bronze color doesn't match the iron.
For Maker Sarah: That vintage cast iron planter has a hairline crack running along the rim. No structural load. No heat exposure. Braze it with silicon bronze on a TIG setup like the Azzuno ACDC-200L using DC TIG mode, 2% lanthanated tungsten, and 80–120A. The low, precise heat input keeps the old casting happy, and the bronze fillet looks clean after a wire-wheel finish.
Common Mistakes and How to Avoid Them
Mistake 1: Skipping preheat on thick sections.
You get away with it once. Maybe twice. Then a crack appears alongside the weld bead the next morning. On any casting over 3/8" thick, always preheat to at least 500°F for the preheat method.
Mistake 2: Running long continuous beads.
This is how you weld mild steel, not cast iron. Long beads pump too much heat into one area, expand the HAZ, and guarantee cracking. Keep beads under 2 inches (1 inch for cold welding). Always.
Mistake 3: Not peening.
Each bead shrinks as it cools. Without peening, that shrinkage builds tensile stress that cracks the brittle cast iron. Peen every bead—light, rapid hammer strikes along the weld crown.
Mistake 4: Using the wrong rod.
E7018 on cast iron? You'll get a hard, brittle weld with zero machinability. Use Ni-99 or Ni-55—yes, they cost $30–$50 per pound compared to $5 for E7018, but the repair works instead of failing.
Mistake 5: Quenching or fast cooling.
Setting the hot casting on a cold concrete floor, hitting it with compressed air, or leaving it in a draft—all of these cause rapid, uneven contraction. The crack you hear will ruin your day. Insulate and slow-cool. Always.
Mistake 6: Not removing all the crack.
If you can still see a dark line at the bottom of your groove, the crack is still there. It'll propagate under the weld. Grind or gouge until you reach clean, solid metal at the crack tip.
Recommended Welders for Cast Iron Work
Cast iron welding demands stick capability and precise amperage control at low settings. These Azzuno machines fit the bill:
Azzuno MF-200L — Best Multi-Process for Cast Iron
Five processes in one box: MIG, TIG, Stick, Plasma, and Aluminum MIG. For cast iron, switch to Stick mode and dial in 65–140A for Ni-99 or Ni-55 electrodes. At 220V, the MF-200L delivers 140A at 60% duty cycle—comfortable headroom for the low-amperage, short-bead work that cast iron requires. Dual-voltage operation means you can run it on 110V (up to 120A) for field repairs on the ranch.
Azzuno MIG-200F — Versatile 3-in-1 with Solid Stick Performance
MIG, Stick, and Lift TIG in a dual-voltage package. Stick range on 220V: 20–180A with a 60% duty cycle. The MIG-200F handles everything from fencing to cast iron repair without taking up the space of a dedicated Stick machine.
Azzuno ACDC-200L — Best for Cast Iron Brazing via TIG
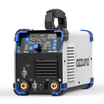
AC/DC TIG with Stick backup. For brazing cast iron with silicon bronze filler, the ACDC-200L's precise amperage control (10–200A DC TIG) and HF start give you the low, steady arc you need. Stick mode covers traditional electrode work up to 160A.
Azzuno MIG-250F — High-Output Option for Heavy Castings
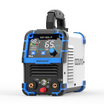
When you're working on thick castings that need higher amperage for larger electrodes (5/32" Ni-55 at 100–150A), the MIG-250F delivers 230A Stick output on 220V with a 40% duty cycle. Its 6-in-1 capability covers every process from flux core to spool gun aluminum.
FAQ: Cast Iron Welding Questions Answered
Can you weld cast iron with a MIG welder?
Yes, but it's not the first choice. You need a nickel-based solid wire (ERNi-CI per AWS A5.15) and 100% argon shielding gas. The process works for buildup and some repairs, but Stick with Ni-99 or Ni-55 gives you better control over heat input and is far more common for cast iron. A multi-process welder like the MF-200L lets you switch between MIG and Stick depending on the job.
Do I have to preheat cast iron before welding?
Not always. The cold-weld technique using Ni-99 electrodes works without full preheat, but you must use extremely short beads (under 1 inch) and let the metal cool between passes. For anything structural, thick, or under load, preheating to 500–1,200°F is the safe approach per AWS D11.2 guidelines.
What happens if I weld cast iron without preheating on a thick part?
Cracking. Almost certainly. Thick sections pull heat away from the weld zone fast, creating a brittle martensitic zone in the HAZ. The tensile stress from weld shrinkage then cracks that zone, sometimes immediately, sometimes hours later. Preheat slows the cooling rate enough to prevent martensite formation.
Can I use E7018 on cast iron?
Technically possible, but not recommended. E7018 deposits steel that picks up carbon from the cast iron base, forming a hard, brittle weld that can't be machined. You'd need preheat above 1,000°F to have a chance at a sound joint, and even then the weld deposit is unpredictable. Spend the money on Ni-99—it costs more per rod but saves the repair.
How long should cast iron cool after welding?
For preheated welds, aim for 8–12 hours of slow, insulated cooling for thick castings. Thin sections (under 1/4") can cool in 4–6 hours if well-insulated. For cold welds, air cooling at room temperature is fine—just don't rush it with water or compressed air. The slower the cool, the softer the HAZ stays.
What's the difference between Ni-99 and Ni-55 electrodes for cast iron?
Ni-99 (ENi-CI) is 99% nickel. It produces a soft, machinable deposit and works at lower preheat temperatures (350°F minimum). Best for cosmetic repairs, thin sections, and any weld that needs to be machined flat afterward. Ni-55 (ENiFe-CI) is roughly 55% nickel with the balance in iron. It produces a stronger, harder deposit—better for structural repairs, thick sections, and ductile iron. Harder to machine, but the joint holds up under load.
Can I weld a cracked engine block?
It depends on the crack location and whether the block is gray iron (most are). Cracks in the water jacket (non-structural, low-stress) are repairable with preheat and Ni-55 rod. Cracks near bolt holes, cylinder walls, or main bearing saddles are high-risk—consult a machine shop specializing in cast iron repair. Some shops use furnace welding or metal stitching (locking pins) for these critical areas rather than arc welding.
Quick Reference: Cast Iron Welding Cheat Sheet
| Parameter | Preheat Weld | Cold Weld | Braze |
|---|---|---|---|
| Electrode/Filler | Ni-99 or Ni-55 | Ni-99 only | Silicon bronze (ERCuSi-A) |
| Preheat | 500–1,200°F | None to 350°F local | 700–900°F (braze temp) |
| Max bead length | 1–2 inches | 1 inch | Continuous (capillary flow) |
| Peening | Every bead | Every bead | Not required |
| Interpass temp | Maintain preheat | Cool below 150°F | Maintain braze temp |
| Post-weld cool | Insulated, 8–12 hrs | Room temp, no draft | Slow cool in blanket |
| Amperage (1/8" rod) | 65–100A | 60–85A | N/A (TIG: 80–120A) |
| Machinability | Good (Ni-99) / Fair (Ni-55) | Excellent | Excellent |
| Joint strength | Matches or near base | Below base | Below base (seal-grade) |
Mike Torres has spent over two decades working with metal—from farm equipment repairs to precision TIG work on custom fabrication. He writes about welding technique and gear to help beginners skip the expensive mistakes he made early on.

Leave a comment
This site is protected by hCaptcha and the hCaptcha Privacy Policy and Terms of Service apply.