



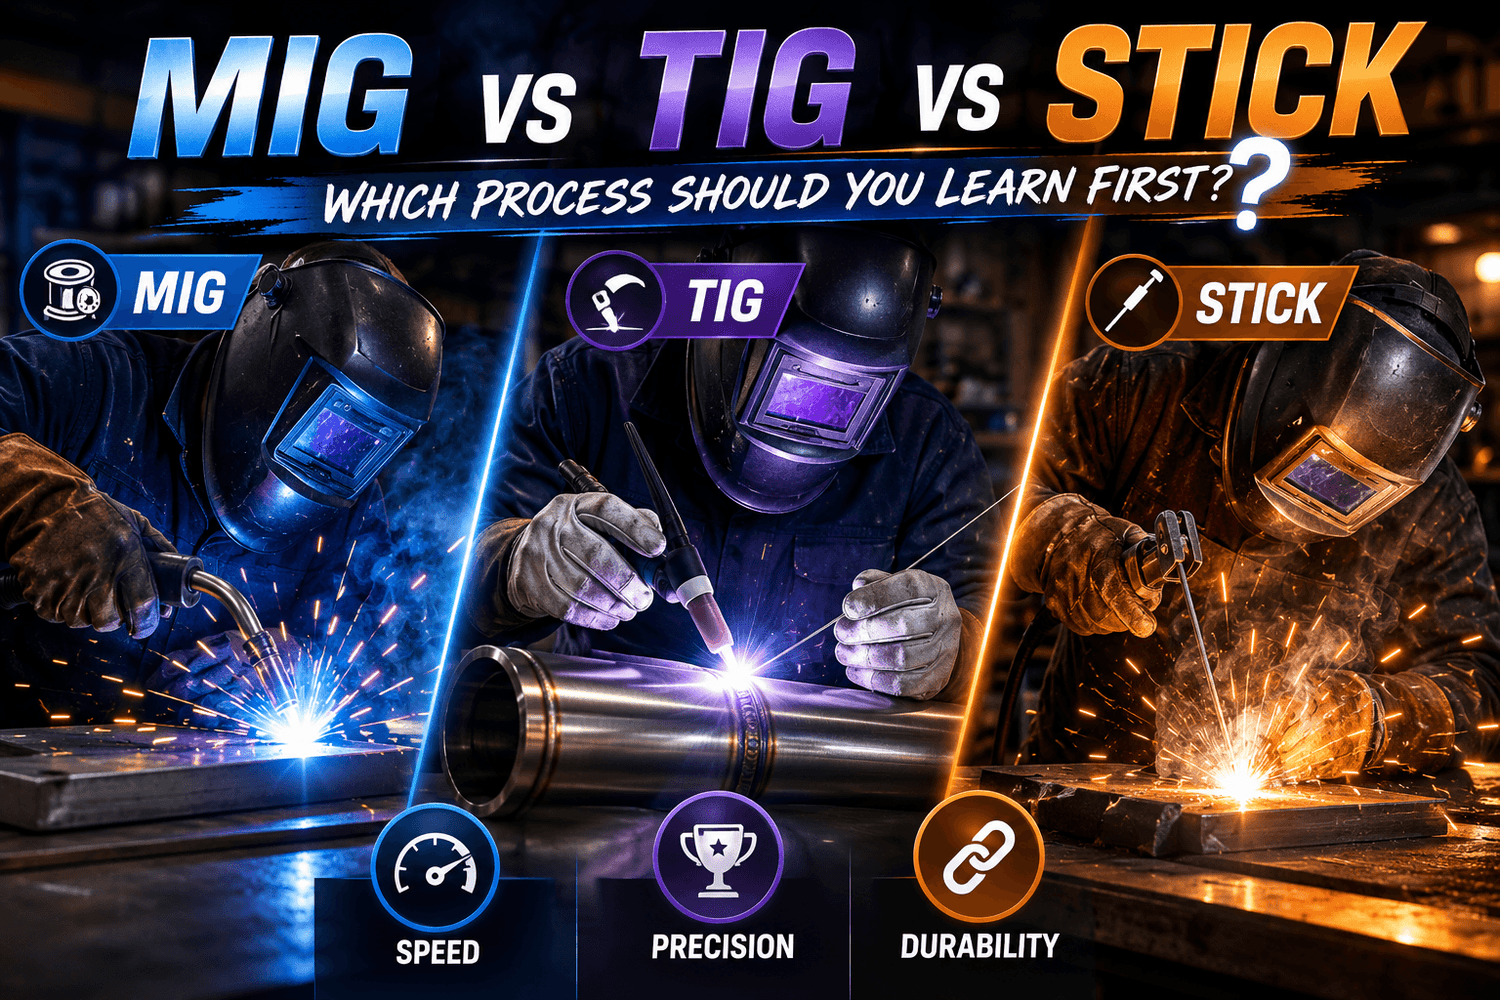
Your buddy hands you a welding helmet and says "just run a bead." Cool—except nobody told you there are three completely different ways to do that, and picking the wrong one on day one can waste months of practice time and hundreds of dollars in material.
MIG, TIG, and Stick each operate on different principles, demand different skill sets, and solve different problems. This guide lays them out side by side so you can pick the process that matches your workshop, your budget, and what you actually want to build.
MIG Welding (GMAW): The Fast Lane In
How It Works
MIG—Metal Inert Gas, technically GMAW (Gas Metal Arc Welding)—feeds a solid wire electrode continuously through a gun at speeds between 2.5 and 13 meters per minute. An arc between the wire and the workpiece melts both, while shielding gas (typically 75% argon / 25% CO₂ for mild steel) flows at 20–30 CFMH to protect the puddle from atmospheric contamination.
Pull the trigger, wire feeds. Move the gun, you weld. That simplicity is why most instructors and shop veterans point beginners toward MIG first.
What You Can Weld
- Mild steel (16 gauge up to 3/8 inch in a single pass on 220V)
- Stainless steel (with tri-mix gas)
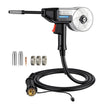
- Aluminum (with a spool gun or push-pull setup and 100% argon)
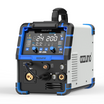
Typical MIG wire diameters: .023" (sheet metal), .030" (general), .035" (heavier plate). On a 200A-class machine like the Azzuno MIG-200F running 220V, you'll push 40–200A through .035" solid wire and handle most garage fabrication without breaking a sweat.
Learning Curve
Shallow. You can lay a structurally sound bead within a few hours of practice. MIG forgives inconsistent travel speed better than TIG or Stick because the wire feed maintains a relatively stable arc length. The main skills to develop: gun angle (10–15° drag), contact tip-to-work distance (1/4–3/8 inch), and matching wire speed to voltage.
Equipment Cost Breakdown
| Item | Entry-Level | Mid-Range |
|---|---|---|
| MIG welder (110V) | $180–$300 | — |
| MIG welder (dual-voltage) | — | $350–$550 |
| Shielding gas (75/25 Ar/CO₂, 80 cu ft) | — | $45–$65 (refill ~$30) |
| Wire (0.030", 2 lb) | $12–$18 | — |
| Consumables (tips, nozzles) | $10–$20 | — |
Running MIG with gas adds a recurring cost that flux core or stick don't have. Budget roughly $0.30–$0.50 per foot of weld in consumable costs (wire + gas).
Where MIG Shines
Garage Mike is building a workbench from 2×2×1/8 steel tubing. He clamps, tacks, and runs stringer beads at roughly 12–18 inches per minute with his MIG-200F. Minimal grinding, minimal spatter (when voltage and wire speed are dialed in), and he's done with all four joints in under 30 minutes.
That's MIG's calling card: speed and cleanliness on thin-to-medium mild steel in controlled indoor environments.
Where MIG Struggles
Wind. Shielding gas blows away in anything over a light breeze, which is why MIG is an indoor process unless you rig wind breaks. Dirty, rusty, or painted surfaces cause porosity—clean to bare metal before welding. Thick plate (over 1/2 inch) requires multiple passes and preheating, where Stick often becomes more practical.
TIG Welding (GTAW): Precision at a Price
How It Works
TIG—Tungsten Inert Gas, or GTAW (Gas Tungsten Arc Welding)—uses a non-consumable tungsten electrode to establish the arc. You hold the torch in one hand and feed filler rod with the other (in most applications), while argon shielding gas flows at 15–25 CFMH through the ceramic cup.
No wire auto-feed. No trigger-and-go. Every variable—arc length, amperage (often foot-pedal controlled), filler feed rate, torch angle, travel speed—is manual. That's why TIG has the steepest learning curve of the three processes.
What You Can Weld
TIG handles the widest material range of any arc process:
- Mild steel and carbon steel (10 gauge down to razor-thin sheet)
- Stainless steel (all series)
- Aluminum (AC TIG required—DC won't work)
- Chromoly (4130)
- Copper, brass, titanium, nickel alloys
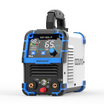
A machine like the Azzuno TIG-180L gives you 10–180A in DC TIG mode on 220V with pulse capability, which is enough for steel and stainless up to 10mm. For aluminum, you'd need an AC/DC TIG unit like the Azzuno ACDC-200L, which provides AC balance and frequency control essential for oxide cleaning on aluminum.
Learning Curve
Steep. Realistic expectation: 20–40 hours of focused practice before you're running consistent beads on flat plate. The foot pedal amperage control alone takes days to internalize. TIG demands steady hands, a consistent 1/8-inch arc length, and the coordination to feed filler rod at the right rate without dipping the tungsten into the puddle (which contaminates the weld).
According to the American Welding Society (AWS), TIG certification (AWS D9.1 for sheet metal, AWS D1.1 for structural) typically requires 6–12 months of training beyond basic welding competency.
Equipment Cost Breakdown
| Item | Entry-Level DC TIG | Mid-Range AC/DC TIG |
|---|---|---|
| TIG welder (DC, dual-voltage) | $280–$450 | — |
| TIG welder (AC/DC) | — | $500–$900 |
| Argon gas (100%, 80 cu ft) | $45–$65 | Same |
| Tungsten electrodes (2% Lanthanated, 10-pack) | $12–$20 | Same |
| Filler rod (ER70S-6, 1 lb) | $10–$15 | Same |
| Consumables (cups, collets, backcaps) | $15–$30 | Same |
TIG consumable costs run lower than MIG per foot of weld since you're not continuously feeding wire, but the initial investment and the argon cost (pure argon is pricier than 75/25 MIG mix) offset that.
Where TIG Shines
Maker Sarah is fabricating a custom stainless exhaust for a café racer build. The tubing is 16-gauge 304 stainless with tight bends and visible welds. She sets the TIG-180L to 90A with 1.5 Hz pulse, walks the cup along the joint, and feeds 1/16" ER308L rod. The result is a stack-of-dimes bead that needs zero grinding before polishing.
TIG produces the cleanest, most precise welds of any arc process. If appearance matters—or you're working thin-wall tubing, exotic metals, or critical joints—TIG is the answer.
Where TIG Struggles
Speed. TIG deposition rates sit at roughly 1–3 lb/hr versus MIG's 5–12 lb/hr and Stick's 3–6 lb/hr. That makes TIG impractical for long structural seams or heavy fabrication. It's also the worst process for outdoor work—the argon shield is even more fragile than MIG's. And the learning curve means you'll burn a lot of practice material before producing welds you're proud of.
Stick Welding (SMAW): The Rugged Workhorse
How It Works
Stick—Shielded Metal Arc Welding (SMAW)—uses a consumable electrode coated in flux. The arc melts both the electrode core wire and the flux coating. The flux generates shielding gas and forms a slag layer over the weld bead, which you chip off after cooling.
No gas cylinder. No wire feed mechanism. No foot pedal. The entire process runs off the machine's amperage setting and your technique.
Common rod types and what they do:
- E6013 — Easy strike, smooth bead, general-purpose (the beginner's rod)
- E6010 — Deep penetration, fast-freeze, root passes on pipe
- E6011 — Similar to 6010 but runs on AC, good for dirty metal
- E7018 — Low-hydrogen, high-strength structural welds, requires clean storage
- E7014 — Iron powder in coating, higher deposition than 6013
What You Can Weld
- Mild steel and carbon steel (heavy plate, structural, pipe)
- Cast iron (with Ni rods)
- Stainless steel (with E308, E309, E316 rods)
- Galvanized steel (6010/6011 cut through the coating)
Stick excels on thick material—3/16 inch and up. On thin sheet metal (under 16 gauge), it's tough to avoid burn-through unless you're highly skilled with 6013 at low amperage.
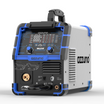
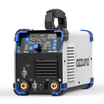
The Azzuno MIG-250F includes Stick mode with 20–230A output on 220V, handling rods up to 5/32" for heavy farm and structural work. The MF-200L also offers Stick capability at 140A at 60% duty cycle—enough for 1/8" and 5/32" rods on most repair jobs.
Learning Curve
Moderate. Striking an arc without sticking the rod takes a few hours to learn. Maintaining a consistent arc length (roughly equal to the rod diameter) while feeding the rod into the puddle as it shortens—that takes weeks of practice. But the fundamentals are fewer than TIG: set amperage, strike, maintain arc length, watch the puddle.
The American Society of Mechanical Engineers (ASME) Section IX recognizes SMAW as one of the most commonly qualified processes for pressure vessel and structural code work, which speaks to its reliability in critical applications.
Equipment Cost Breakdown
| Item | Budget Setup | Solid Setup |
|---|---|---|
| Stick welder (110V only) | $130–$220 | — |
| Stick/MMA welder (dual-voltage) | — | $250–$450 |
| Electrodes (5 lb, 6013) | $12–$20 | — |
| Electrodes (5 lb, 7018) | $15–$25 | — |
| Chipping hammer + wire brush | $10–$15 | — |
| Consumables (stubs, wasted rods) | $5–$10/project | — |
Stick has the lowest entry cost of the three processes. No gas, no wire feed parts, no tungsten. Just rods and an arc. That simplicity is why Stick remains the standard in field construction and remote repair.
Where Stick Shines
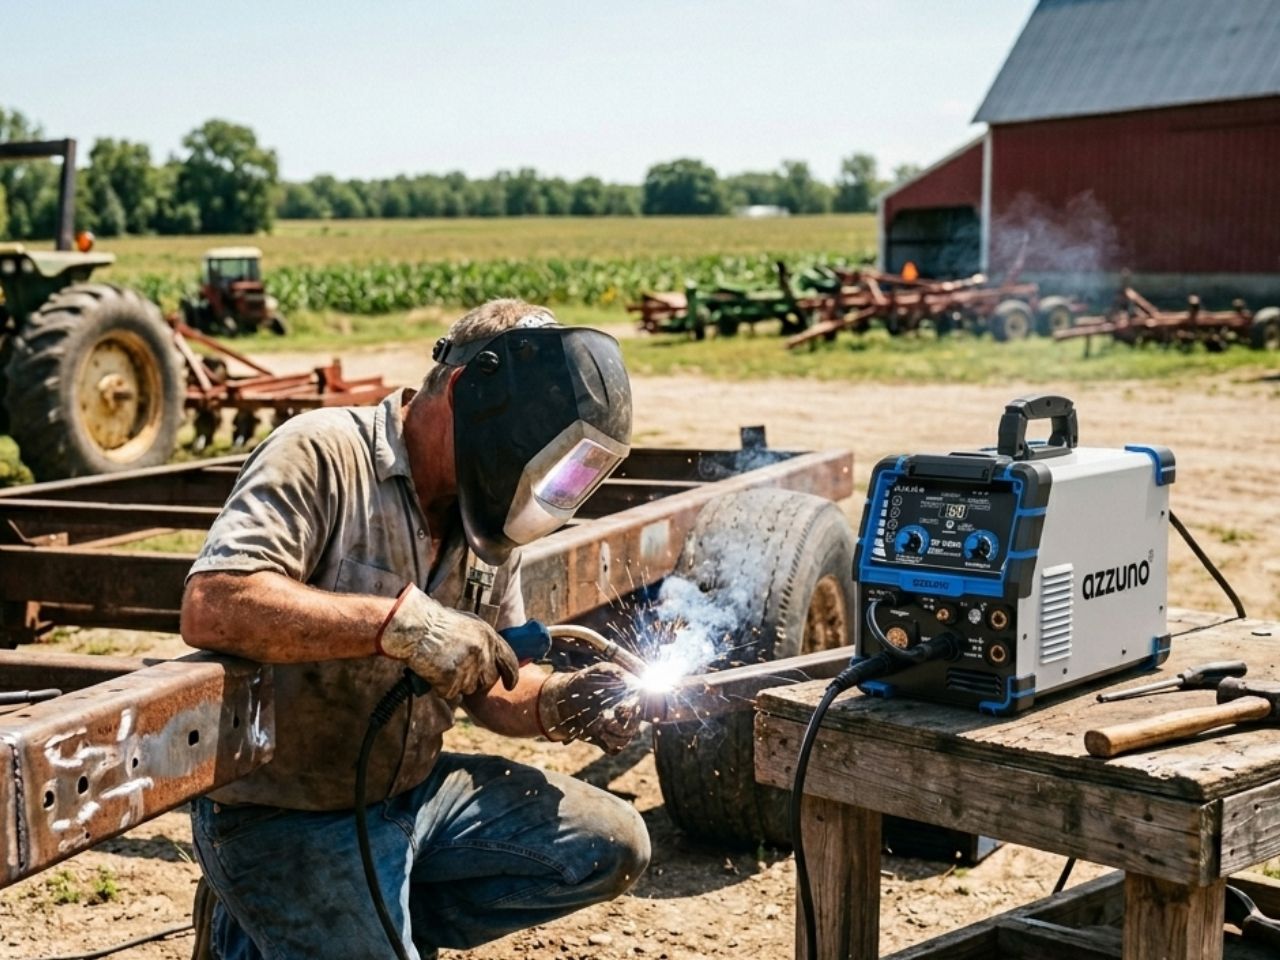
Ranch Hand Ryan has a broken plow frame in the north pasture. Wind is blowing 15 mph, the steel is covered in rust and paint flakes, and the nearest power outlet is 200 yards away. He grabs the MIG-250F, sets it to Stick mode at 130A, runs a 6011 rod through the cracked joint without grinding anything clean first, and has it back in service in 20 minutes.
That's Stick's domain: outdoor, dirty metal, thick sections, no-gas-needed. The slag coating protects the puddle even in windy conditions that would destroy a MIG or TIG gas shield.
Where Stick Struggles
Thin material. Anything under 16 gauge and you're fighting burn-through. Appearance—Stick welds look rough compared to MIG and nowhere near TIG. You'll spend time chipping slag and grinding. And the process is slower than MIG on long seams. Stick also produces more spatter and fumes than MIG, so ventilation matters.
MIG vs TIG vs Stick: Head-to-Head Comparison
| Parameter | MIG (GMAW) | TIG (GTAW) | Stick (SMAW) |
|---|---|---|---|
| Learning Difficulty | Easy — pull trigger, move gun | Hard — two-hand + foot coordination | Moderate — strike arc, maintain length |
| Deposition Rate | 5–12 lb/hr | 1–3 lb/hr | 3–6 lb/hr |
| Welding Speed | 12–25 ipm (typical) | 3–8 ipm (typical) | 6–15 ipm (typical) |
| Material Thickness | 24 gauge – 1/2" | 22 gauge – 3/8" (DC); up to 10mm with AC/DC | 16 gauge – unlimited |
| Shielding | External gas (75/25 Ar/CO₂ or 100% Ar) | External gas (100% Ar) | Flux coating (self-shielding) |
| Gas Flow Rate | 20–30 CFMH | 15–25 CFMH | N/A |
| Outdoor Use | Poor — wind disrupts gas | Poor — wind disrupts gas | Excellent — self-shielding slag |
| Weld Appearance | Good — clean, minimal spatter | Excellent — "stack of dimes" | Fair — slag, spatter, grinding needed |
| Dirty/Rusty Metal | Poor — causes porosity | Poor — contamination issues | Good — flux cleans impurities |
| Thin Sheet Metal | Good — fine control at low amps | Excellent — precision at 10A+ | Poor — burn-through risk |
| Entry Machine Cost | $180–$300 (110V) | $280–$450 (DC, dual-voltage) | $130–$220 (110V) |
| Recurring Consumable Cost | $$ (wire + gas) | $ (rod + argon) | $ (rods only) |
| Aluminum Capability | Yes — spool gun or push-pull + 100% Ar | Yes — AC TIG required | Limited — not standard practice |
| Position Welding | All positions (harder overhead) | All positions | All positions (6010/7018 excel) |
| Common AWS Code | D1.1 (Structural Steel) | D9.1 (Sheet Metal), D17.1 (Aero) | D1.1, ASME IX (Pressure) |
Which Process Should You Learn First?
No single answer fits everyone. It depends on three things: where you weld, what you weld, and what you're willing to spend.
You Should Start With MIG If…
- You work indoors (garage, shop, basement) with access to 110V or 220V power
- Your projects are thin-to-medium mild steel — furniture, brackets, racks, automotive sheet metal
- You want results fast — MIG has the shortest path from "never welded" to "usable bead"
- Budget allows for a gas cylinder (~$100–$150 deposit + first fill)
Recommended starter machine: Azzuno MIG-200F — dual-voltage, 200A MIG with Synergic mode, 60% duty cycle, plus Stick and Lift TIG capability. If you want a compact option that also handles flux core, the MF-200L gives you five processes including aluminum MIG in one box.
You Should Start With Stick If…
- You work outdoors regularly — farm, ranch, construction site, field repairs
- Your material is thick and dirty — structural steel, pipe, castings with mill scale
- You want the lowest startup cost — no gas, minimal consumables
- You need portability — throw a small inverter in the truck and you're mobile
Recommended starter machine: Azzuno MIG-250F — not just a Stick welder but a 6-in-1 machine that covers Stick (20–230A on 220V), MIG, Lift TIG, and flux core. At 40% duty cycle and with features like Hot Start and Arc Force, it's built for rough conditions. For a lighter option, the MF-200L handles Stick at 140A/60% duty cycle—plenty for most farm repairs.
You Should Start With TIG If…
- You're patient and detail-oriented — TIG rewards precision over speed
- Your projects involve thin-wall tubing, stainless, or exotic metals
- Weld appearance is critical — visible joints on motorcycles, art pieces, food-grade piping
- You're willing to invest months of practice before producing code-quality welds
Recommended starter machine: Azzuno TIG-180L — DC TIG with HF start, pulse, Cold TIG, and 10-channel memory at a price that doesn't hurt as much when you're burning practice coupons. For aluminum, the Azzuno ACDC-200L adds AC TIG with balance and frequency control.
The Multi-Process Compromise
Can't decide? A multi-process machine lets you try all three without buying separate units.
- MIG-200F: MIG + Stick + Lift TIG, dual-voltage, 60% duty cycle — the balanced choice
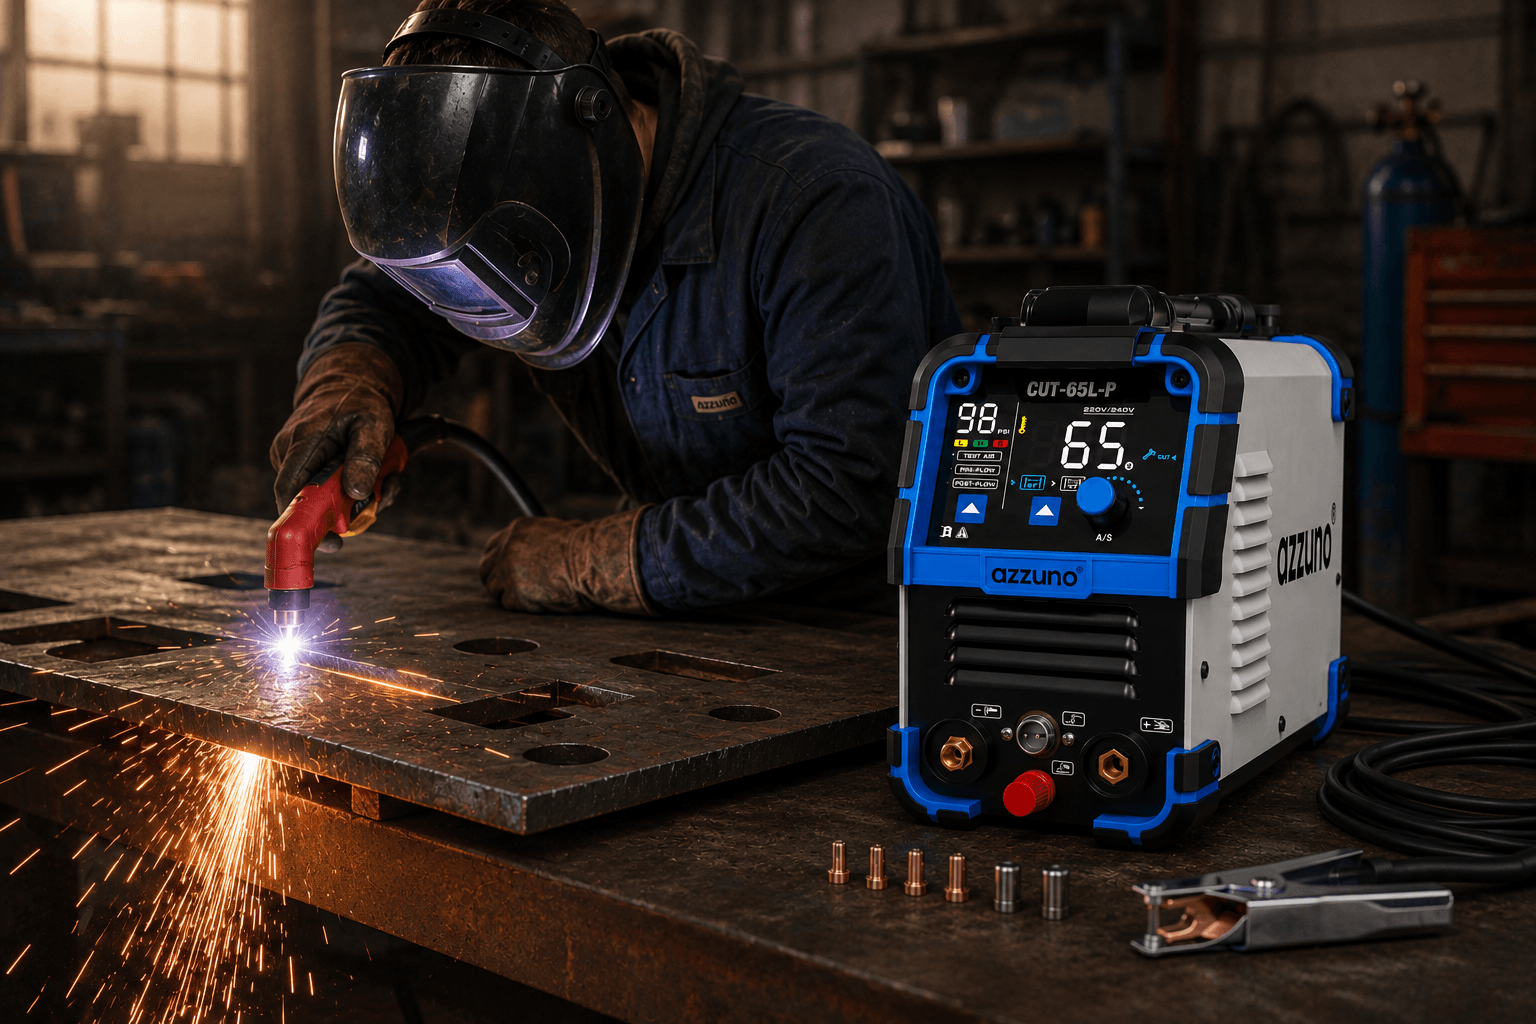
- MF-200L: MIG + TIG + Stick + Plasma + Aluminum MIG — the all-in-one flagship
- MIG-250F: MIG + Flux + Stick + Lift TIG + Spool Gun — high power for bigger work
Starting on a multi-process machine means you learn MIG first (because it's fastest to pick up), then add Stick for outdoor work and TIG for precision projects as your skills grow. That's the most practical progression for most people.
FAQ
Can I learn MIG and Stick at the same time?
Yes, and it's actually common. The fundamental skills overlap—understanding puddle control, travel speed, and joint preparation transfers between processes. Many instructors teach MIG in the morning and Stick in the afternoon during introductory courses. The AWS SENSE (Schools Excelling through National Skills Education) curriculum includes both in its Entry-Level Welder program. Just don't add TIG until you're comfortable with the other two, or the coordination demands will slow your progress on everything.
Is flux core MIG the same as Stick welding?
No. Flux core (FCAW) uses a tubular wire with flux inside, fed through a MIG gun—mechanically similar to solid-wire MIG. Stick (SMAW) uses a hand-held flux-coated rod. Both generate slag and both work outdoors, but flux core runs continuously (no rod changes every 12 inches) and deposits metal faster. Stick offers deeper penetration on thick, dirty steel and requires no wire feed mechanism. For a deeper comparison, see our flux core vs MIG guide.
Do I need 220V to start welding?
Not necessarily. On 110V, you can run MIG up to ~120A, Stick up to ~120A, and TIG up to ~110A (depending on the machine). That covers sheet metal work, light structural jobs, and practice welding. The Azzuno MIG-200F, MF-200L, and MIG-250F all accept dual voltage—110V for home outlets, 220V when you need full output. You'll want 220V eventually if you plan to weld anything over 1/4 inch regularly.
Which welding process pays the most?
TIG welders generally earn the highest hourly rates because the skill is specialized and the work is often code-critical (aerospace per AWS D17.1, food-grade stainless per ASME B31.3, pharmaceutical piping). According to the U.S. Bureau of Labor Statistics, specialized TIG welders in pipe and aerospace can earn $25–$45+/hr depending on region and certification. Stick welders command strong rates in construction and pipe welding (especially 6G position certified). MIG is the most common process in manufacturing but typically pays less per hour due to lower skill barriers.
How long does it take to learn each process well enough for real projects?
MIG: 1–2 weeks of daily practice (10–20 hours) to run consistent, structurally sound beads on flat and horizontal joints. Add another 20 hours for vertical and overhead.
Stick: 2–4 weeks (20–40 hours) to reliably strike an arc, maintain puddle control, and produce acceptable beads with 6013 and 7018 rods. Vertical and overhead take longer.
TIG: 1–3 months (40–80 hours) of consistent practice before you're running uniform beads on flat plate. Practical proficiency on joints, out-of-position work, and multiple materials takes 6–12 months.
These timelines assume you have decent instruction—either a class or a skilled mentor. Self-taught welders typically take 50–100% longer.
Can I weld aluminum with a Stick welder?
Technically yes, using aluminum SMAW rods (Al-43 / E4043), but the results are poor. The arc is unstable, porosity is common, and the weld quality is unreliable for anything structural. If aluminum is on your project list, use MIG with a spool gun and 100% argon, or AC TIG. The MF-200L supports aluminum MIG with the proper liner and feed roll setup.
What's the cheapest way to start welding today?
Buy a 110V Stick welder (around $130–$180), a pack of 6013 rods ($15), a chipping hammer ($8), and a basic helmet ($25–$40). Total: under $260. You'll be running beads the same afternoon. It's not pretty, it's not versatile, but it gets you hands-on experience with the core mechanics of arc welding. Upgrade to a dual-voltage multi-process machine like the MIG-200F or MF-200L once you know which processes you'll actually use.
Mike Torres has been welding for over 15 years across automotive, structural, and agricultural applications. He writes about welding technology and equipment for Azzuno Tools.

Leave a comment
This site is protected by hCaptcha and the hCaptcha Privacy Policy and Terms of Service apply.